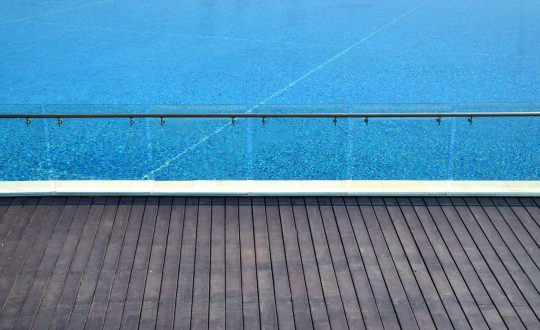
Have you ever looked at a magazine-worthy backyard and wondered how you could recreate that serene, stylish ambience in your own space? Glass pool fencing is a stunning addition that enhances the aesthetic of your outdoor area and boosts safety without obstructing your view. Understanding the installation process is key to transforming your pool area into a luxurious retreat. Here’s a step-by-step guide on how to install glass pool fencing.

Choosing the Right Type of Glass Pool Fencing
Before you go into installation, deciding which type of glass fencing suits your needs and preferences is essential. Frameless glass fencing offers a seamless look that minimally interferes with the surrounding landscape, making it perfect for showcasing stunning views. On the other hand, semi-frameless glass fencing uses posts or frames between the panels, providing a slightly more defined boundary with a touch of elegance.
Planning and Preparing the Site
The first step in the installation process is preparing the site where the glass fencing will be installed. This involves clearing the perimeter around your pool of debris, furniture or obstacles. Whether your pool area has pavers, decking or concrete, ensuring a clean and level surface is necessary for a smooth installation.
Setting the Posts Or Spigots
For frameless glass fencing, you’ll need to install spigots—the anchors that hold the glass panels in place. If you install concrete, the fixtures can be directly bolted down. For installations over pavers, it’s often necessary to reinforce the area beneath the pavers with concrete to ensure stability. If you opt for a semi-frameless system, the process will involve setting vertical posts into the ground or mounting them on the surface, depending on your specific landscape.
Measuring And Aligning the Panels
Accuracy is critical when measuring and aligning glass panels. Please ensure all measurements are taken from the finished surface to avoid discrepancies once the fencing is in place. Maintaining consistent spacing between panels and ensuring all elements are level is essential to achieve a visually pleasing and structurally sound barrier.
Installing the Glass Panels
Carefully lift and fit the glass panels into the spigots or between the posts for semi-frameless fencing. Glass is heavy and fragile, so handling it carefully is important. You can use appropriate lifting techniques and equipment to avoid injury or damage to the panels. Once in place, secure the panels according to the manufacturer’s instructions, typically involving tightening screws or bolts to clamp the glass securely. For your glass pool fencing needs, trust the expertise of professional installation to ensure safety and quality.
Finishing Touches and Cleanup
After all panels are installed, it’s important to inspect the entire fence for any adjustments needed. Check that all fasteners are tight and that there are no gaps or misalignment. Cleaning the glass panels will remove any fingerprints or smudges accumulated during installation, leaving your new fence sparkling and clear.
Secure and Beautify Your Pool Area With Our Glass Solutions
Glass pool fencing is an outstanding choice to enhance the safety and beauty of your pool area, offering unobstructed views while forming a secure barrier. At Gurus of Glass, we provide frameless glass fencing on the Gold Coast, tailored to meet your needs. Our commitment is to deliver top-quality products and services, transforming your outdoor spaces into beautiful, safe and stylish retreats. We prioritise clear views and safety, ensuring our glass pool fencing on the Gold Coast meets the highest standards. Contact us to turn your poolside into a breathtaking haven.


